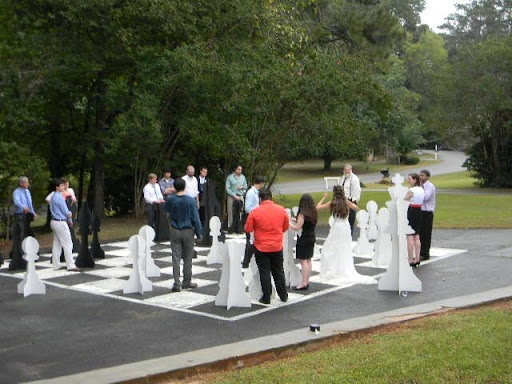
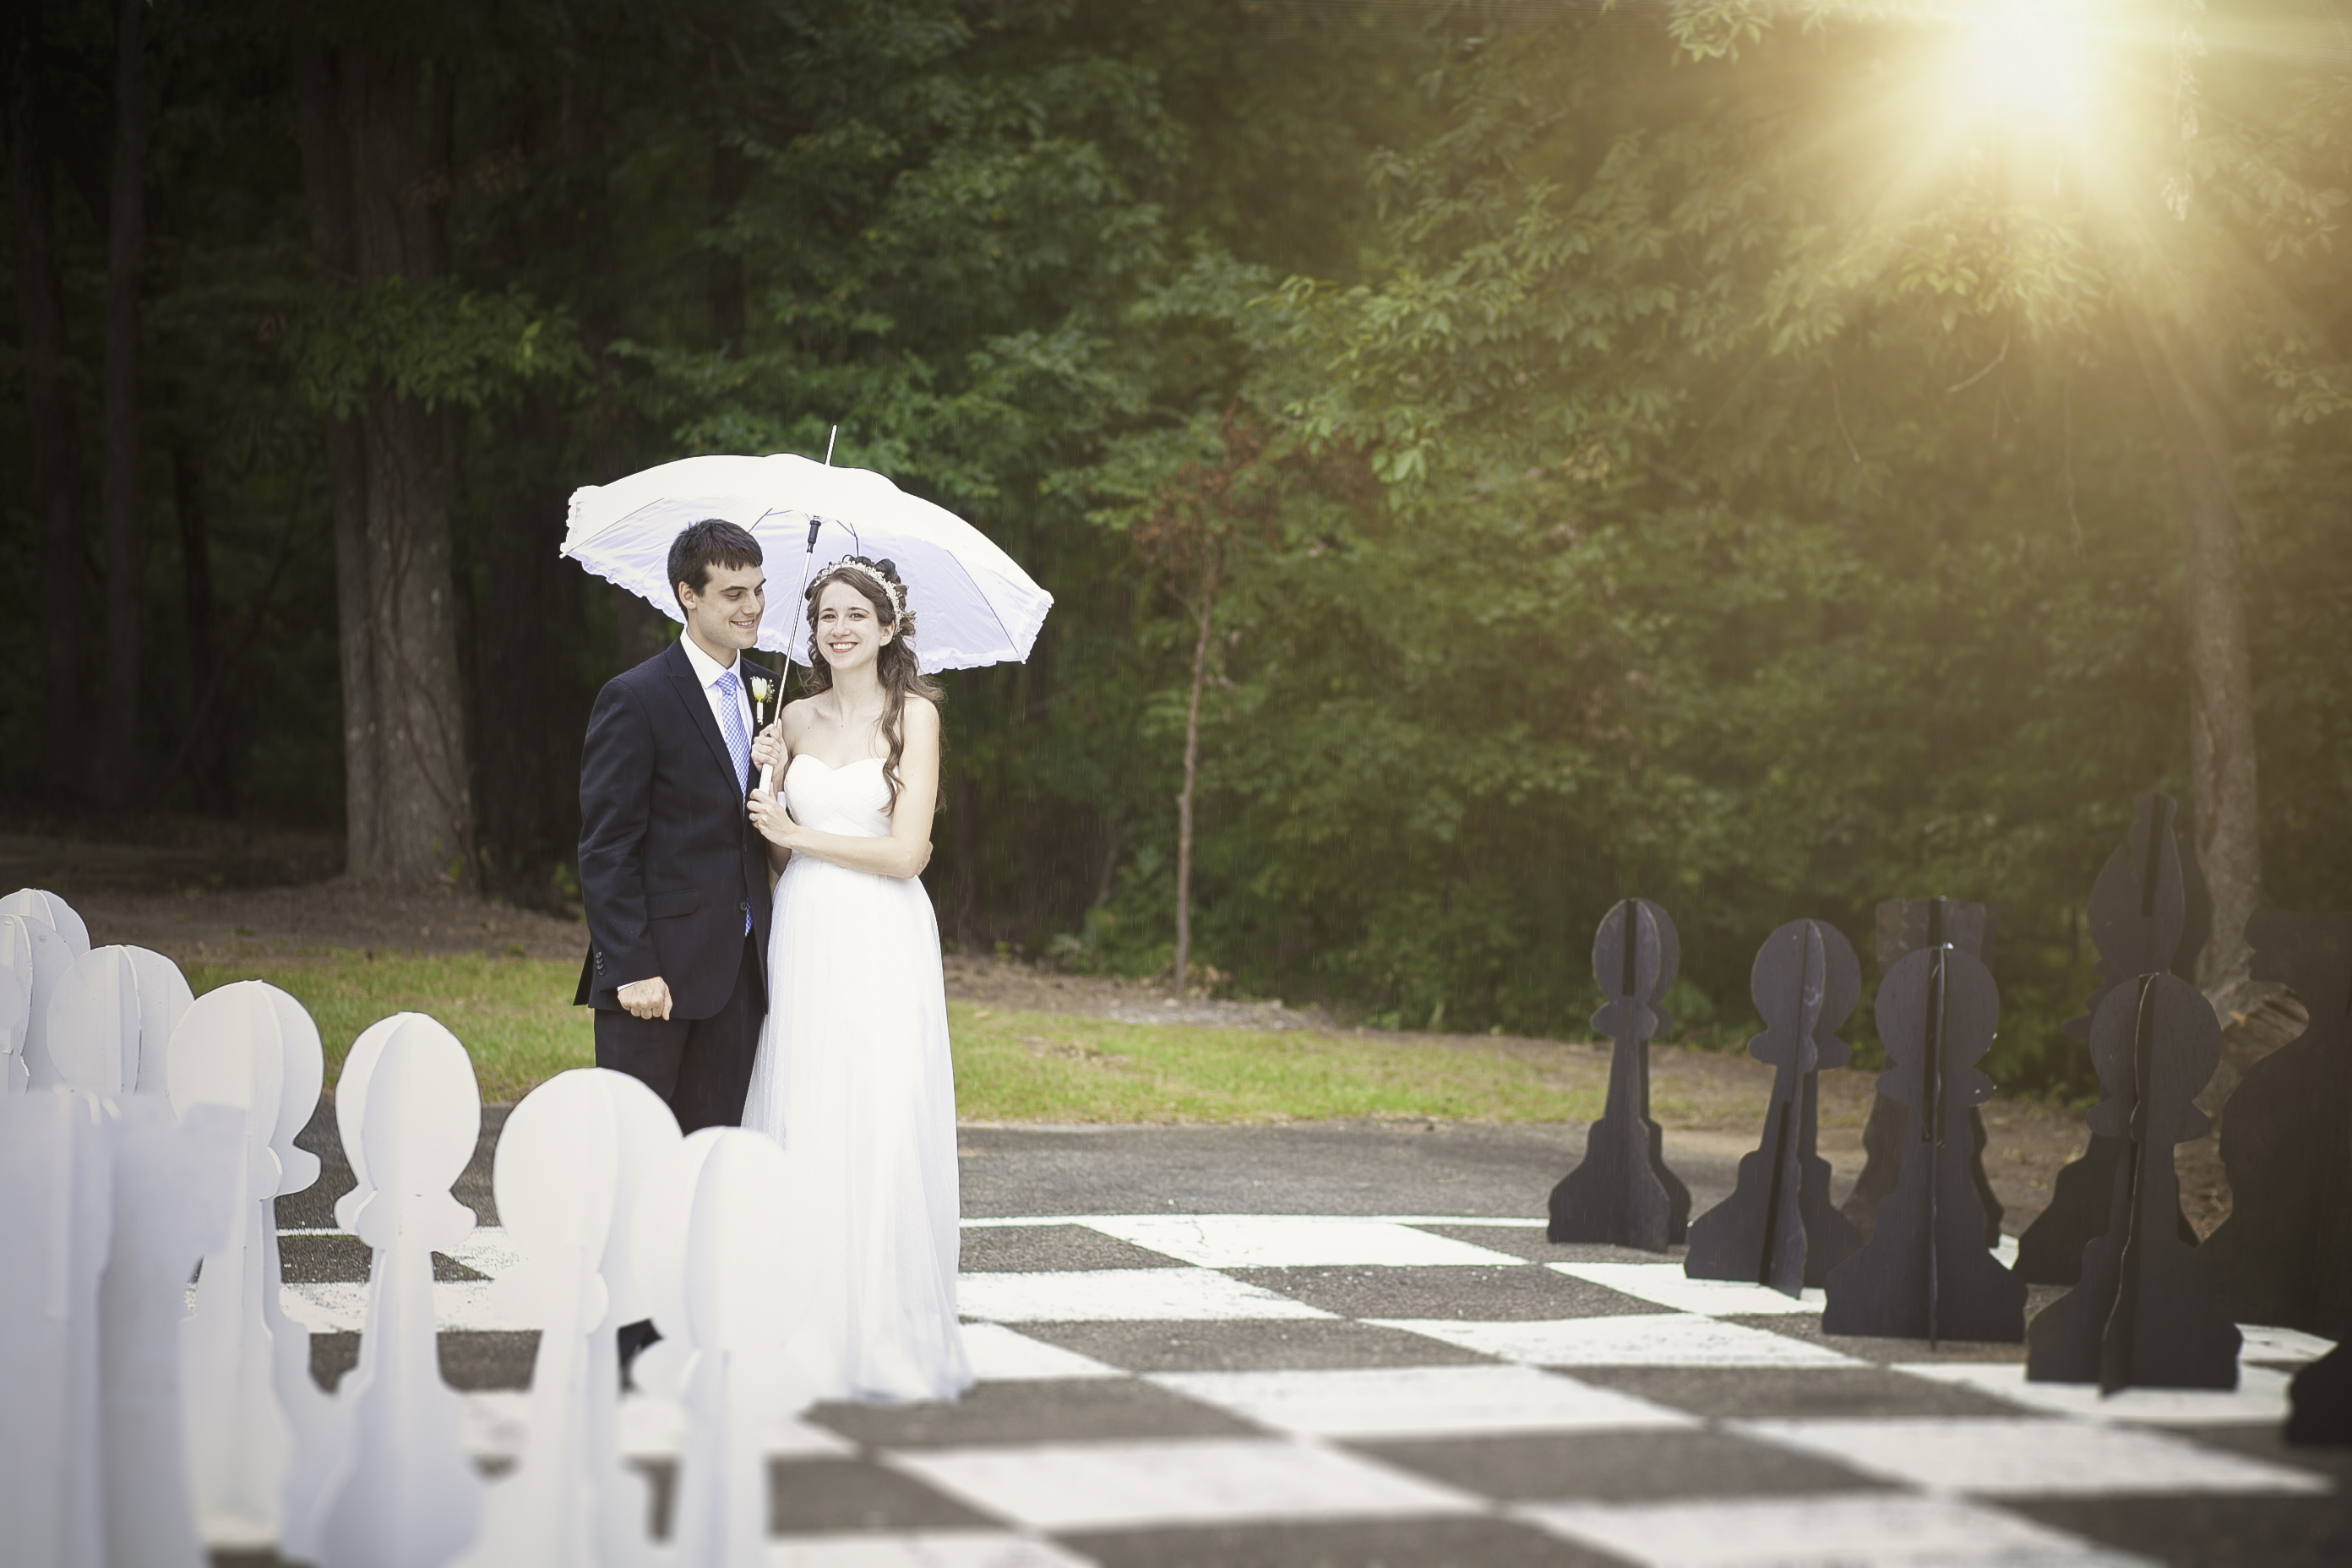
I created a giant chess set as a decoration for my wedding. Each piece is made out of two hardboard cutouts slotted together in the middle.
Piece Preparation
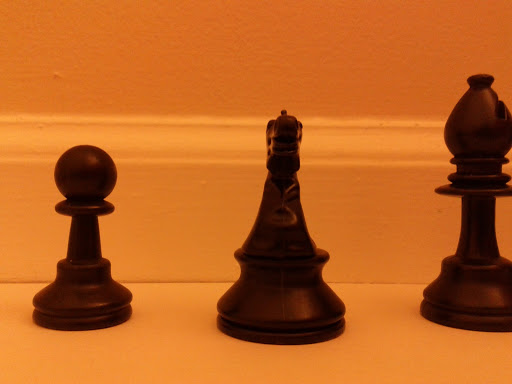
I ended up creating vectors images of each piece myself after my searches online didn't turn up any results that I liked. What I did to create the vectors was take pictures of the pieces from my favorite chess set and then convert them to black and white.
I then imported the black and white pictures into Inkscape and used Inkscape's built in tracing functions. After a little bit of clean up I set all the pieces to the same scale. The scale I chose had the queen at about 5 feet high.
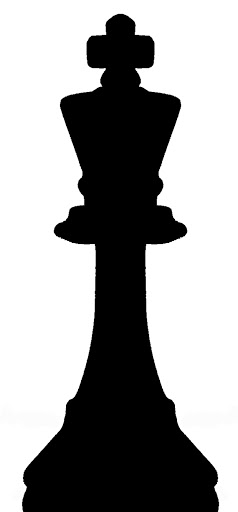
I then printed the silhouettes out on on paper and lined up the multiple sheets, taping them together, to create one half of each piece.
After I had the paper templates together I traced them onto 4 feet by 8 feet pieces of hardboard, making sure to mirror the templates. I used a jig-saw to cut out one silhouette of each piece. The exception being the knight, which was the only real asymmetrical piece. I cut out an extra silhouette for the knight.
Once I had one cut out for each silhouette shape I needed I used that cutout to outline all the other copies I needed, I was able to cut through multiple layers of hardboard at once, which sped up the process.
Once I had all the pieces cut out I made corresponding cuts in the top middle of one half and bottom middle of the other half of each piece and made sure the slits were just wide enough that they slid together but not too wide to allow too much wiggle room.
I took each piece apart so they would lay flat and transport easily to the wedding destination. Once there the next step is to lay out the board.
Board Preparation
The rule for how large to make the board is to make each square 1.5 times as large as the base of the king. For my chess set this meant that each square would be large enough for a person.
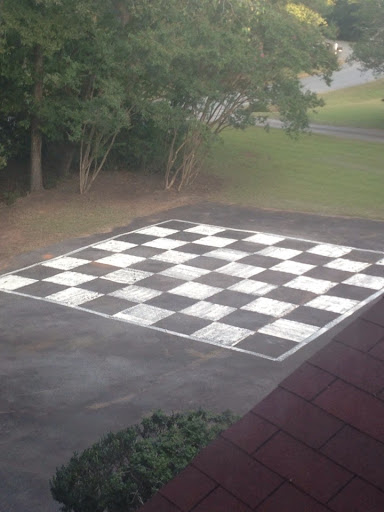
We hammered nails into the concrete and used string to mark out first the outer edges of the board, then after checking to make sure it was square we marked out each of the rows and columns of the board. We rolled on the paint for each white square, making sure to use white for the bottom right square in the orientation we preferred the board to go. We used a smaller roll for a white border around the outside of the board.
Once the ceremony was over, we had our first dance and were well into the champagne. Everyone gathered around and started taking places beside their pieces in a life sized chess game.
